
First use
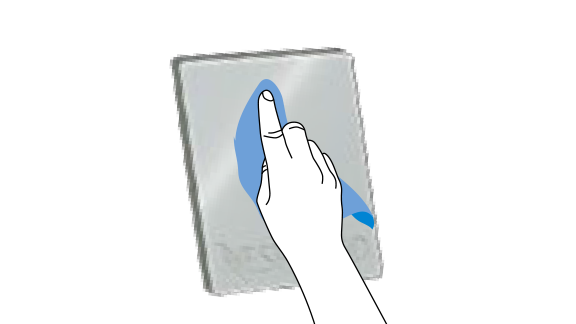
Navigation
Regular Coffee Preparation
Milk Coffee Preparation - Single Cup
Milk Coffee Preparation - Two Cups
Latte Macchiato Preparation
Adjusting Regular Coffee Drinks
Adjusting Milk Coffee Drinks

Reset to factory settings

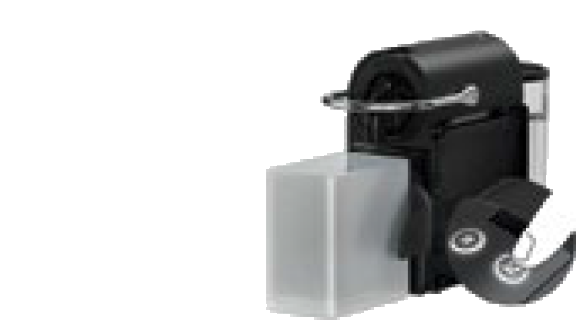
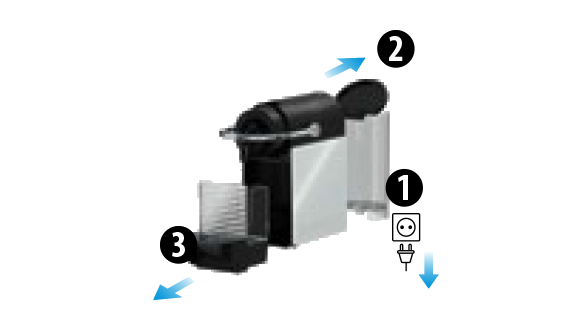
Emptying the System before a period of non-use or for frost protection
Energy saving

Daily Cleaning
Steam Wand Cleaning Procedure
Descaling
Water Hardness
 First use
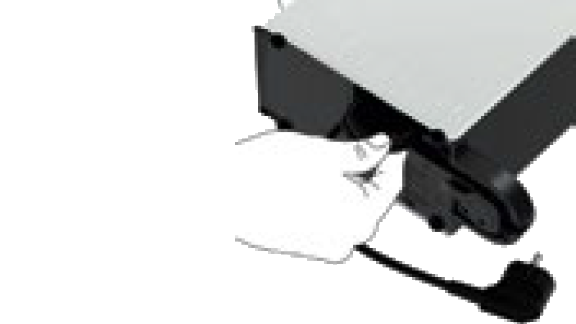
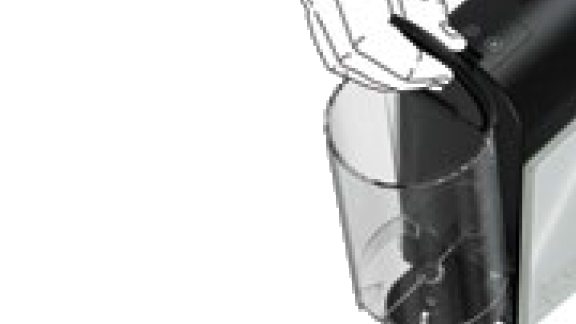
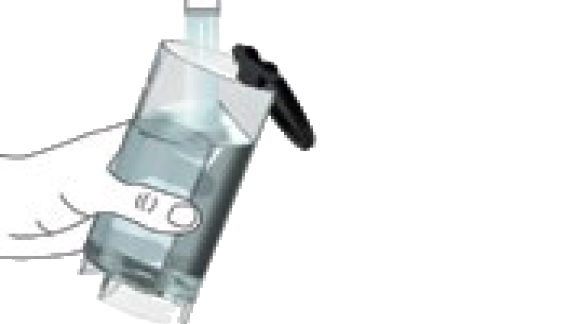
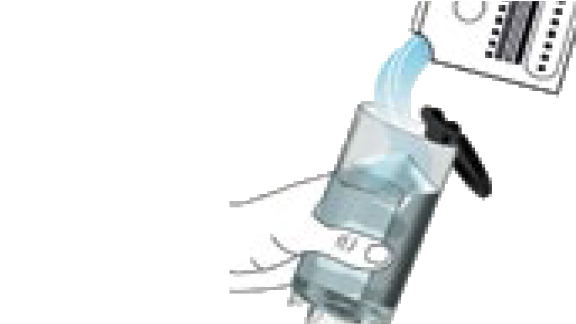
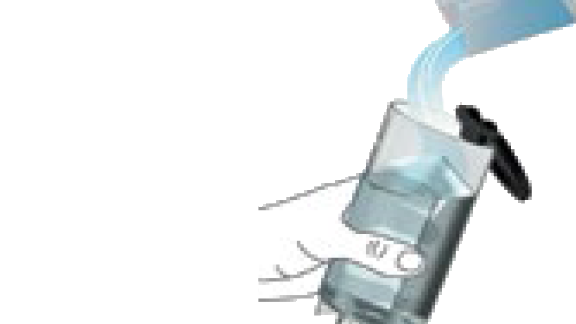
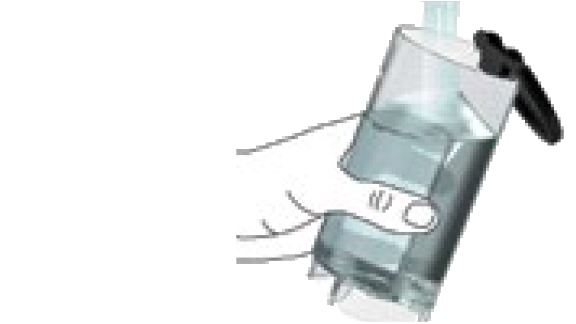
- Fill the water tank with fresh potable water.
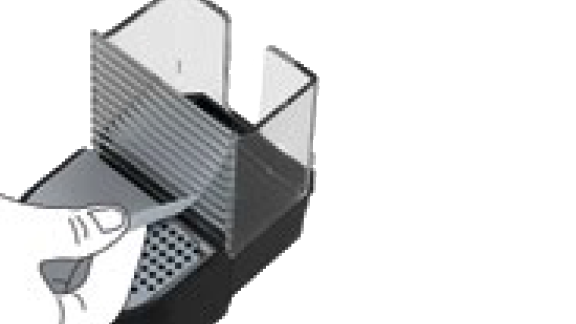
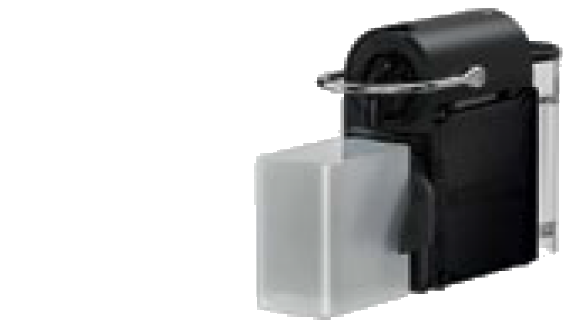
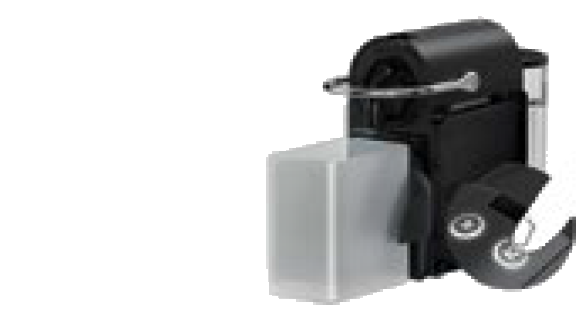
- Place the water tank, insert the drip tray and the capsule container in position. For your safety, operate the machine only with drip tray and capsule container in position.
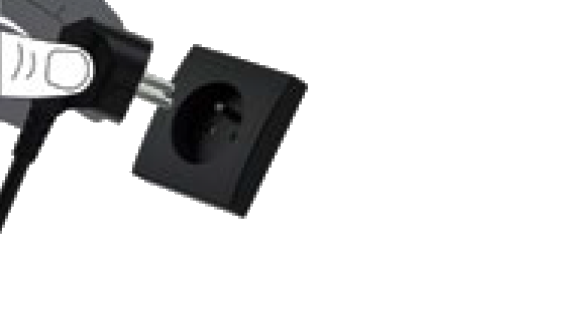
- Plug the machine into the power outlet.
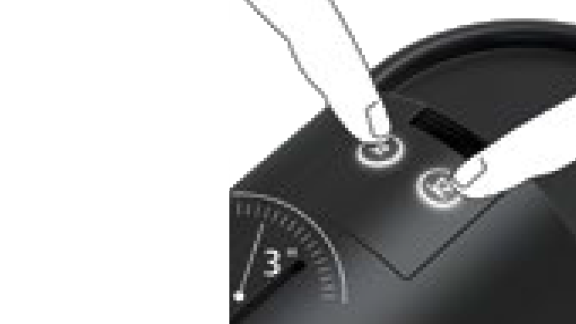
- Turn the machine ON by pressing the START|CANCEL button. Heating up takes approximately 10 seconds.
- Rotate the SELECT dial to set your language. Press SELECT to confirm.
- Setting your water hardness, dip the Water Hardness Test Strip in and out the water tank. Wait 1 minute. Set the water hardness by rotating the SELECT dial according to the results on the Test Strip. Press SELECT to confirm. For further information refer to page 26.
- Follow the on-screen prompts to rinse & prepare your machine for use.
- Follow the Quick Start Tutorial.
- To turn OFF your machine, press and hold the START/CANCEL dial for 2 seconds until machine is off.

Step 1 of 9
Navigation
- Rotate the SELECT dial to select your coffee
- Display shows current drink settings, Coffee Volume, Milk Temperature, Milk Texture.
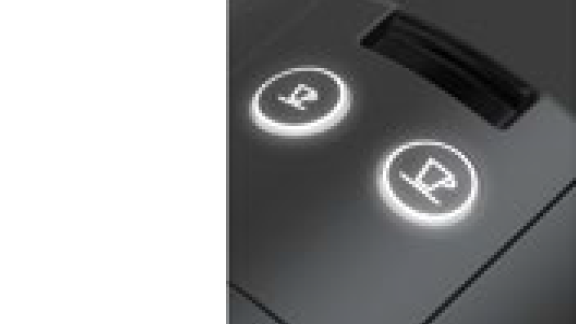
- Press START|CANCEL to make a coffee with the current settings.
- Press the SELECT dial to adjust the current settings. Refer 'Adjusting Regular/Milk Coffee Drinks'.


Step 1 of 4
- Fill the water tank with potable water.
- Turn the machine ON by pressing the START|CANCEL button. Heating up takes approximately 10 seconds.
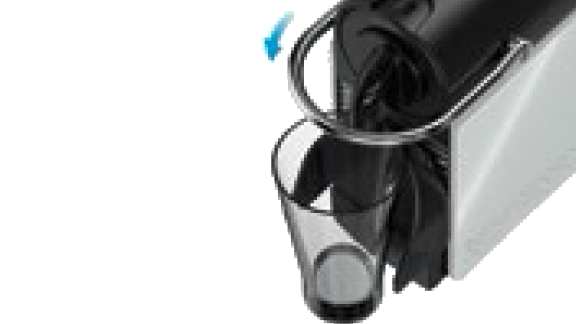
- Place a cup under the coffee outlet. Use the cup support if required. PUSH the cup support to unlock.
- Lift the Lever, insert a capsule and close the lever.Rotate SELECT dial to select your coffee.
- Preparation will stop automatically. Lift the Lever to eject the capsule.
- To stop the coffee flow press the START|CANCEL button.


Step 1 of 6
- Fill the water tank with fresh potable water.
- To accommodate smaller cups, use the cup support. PUSH the cup support to unlock.
- Rotate the SELECT dial to select your drink.
- Fill the milk jug with enough fresh cold milk. Minimum and maximum levels are marked on the inside and outside of the milk jug.
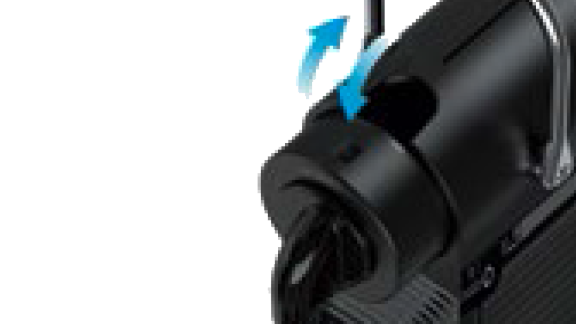
- Lift the steam wand & position in the centre of the milk jug.
- Ensure the milk jug is making contact with the temperature sensor located in the drip tray.
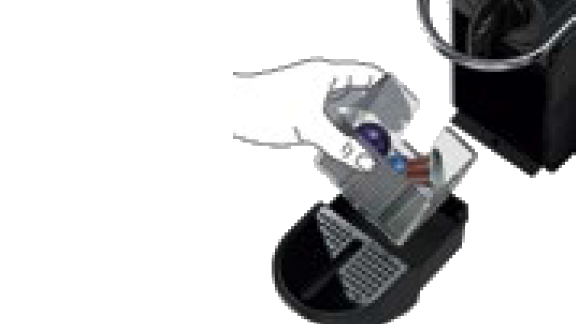
- Lift the Lever & insert your capsule.
- Press the START|CANCEL button to start the espresso extraction.
- When the espresso extraction is complete, press START|CANCEL to begin milk frothing.
- When milk frothing is complete, lift the steam wand, wipe with a clean damp cloth.
- Allow steam wand to return to its down position & it will auto purge to rinse itself.
- Pour milk into the espresso to finish your drink.


Step 1 of 12
- Fill the water tank with fresh potable water.
- To accommodate smaller cups, use the cup support. PUSH the cup support to unlock.
- Rotate the SELECT dial to select your drink.
- Fill the milk jug with enough fresh cold milk. Minimum and maximum levels are marked on the inside and outside of the milk jug.
- Lift the steam wand & position in the centre of the milk jug.
- Ensure the milk jug is making contact with the temperature sensor located in the drip tray.
- Lift the Lever & insert your capsule.
- Press the START|CANCEL button to start the espresso extraction.
- When the espresso extraction is complete, press START|CANCEL to begin milk frothing.
- When milk frothing is complete, lift the steam wand, wipe with a clean damp cloth.
- Allow steam wand to return to its down position & it will auto purge to rinse itself.
- Pour milk into the espresso to finish your drink.


Step 1 of 12
- Fill the water tank with fresh potable water.
- To accommodate a Latte Macchiato glass, push the cup support in until it locks.
- Rotate the SELECT dial to select your drink.
- Fill the milk jug to the marked maximum level with fresh cold milk
- Lift the steam wand & position in the centre of the milk jug and press START|CANCEL to begin milk frothing.
- Ensure the milk jug is making contact with the temperature sensor located in the drip tray.
- When milk frothing is complete, lift the steam wand, wipe with a clean damp cloth.
- Allow steam wand to return to its down position & it will auto purge to rinse itself.
- Pour milk into the Latte Macchiato glass and place under the coffee spout.
- Lift the Lever & insert your capsule.
- Press the START|CANCEL button to start the espresso extraction.


Step 1 of 11
- Rotate the SELECT dial to the drink.
- Press the SELECT dial to adjust the coffee volume.
- Rotate the SELECT dial to adjust the coffee volume. The suggested volume is marked with a dotted line.
- Press SELECT dial to save & exit or press START|CANCEL to exit without saving.
- Any coffee can be programmed. 1. Ristretto: from 25 to 60 ml / 0.85-2 oz. 2. Espresso: from 25 to 60 ml / 0.85-2 oz. 3. Lungo: from 70 to 150 ml / 2.37 to 5 oz.


Step 1 of 5
- Rotate the SELECT dial to the drink & press the SELECT dial to adjust drink.
- Rotate the SELECT dial to adjust, Espresso Volume, Milk Temperature or Milk Froth level.
- Press the SELECT dial to enter & rotate to adjust the setting. Froth levels & Espresso Volumes suggested settings are marked with a dotted line.
- Press SELECT dial to save & exit or press START|CANCEL to exit without saving.
- Press START/CANCEL to exit the adjustments menu.
- Any milk coffee can be programmed. 1. Coffee Volume: from 25 to 60 ml / 0.85-2 oz. 2. Milk Temperature: from 55 to 75 °C / 131 to 167 °F. 3. Milk Froth: from 2 to 30 mm / 0.08 to 1.2 in.

Step 1 of 3
 Reset to factory settings
- Drink Settings are: -Coffee Volume, Milk Temperature and Milk Froth.
- To reset your drink settings: Select SETTINGS -> Select RESET -> Select COFFEE RESET -> Select ✓ to confirm -> Select X to cancel
- To reset factory settings: Select SETTINGS -> Select RESET -> Select FACTORY RESET -> Select ✓ to confirm -> Select X to cancel -> Machine will power off -> On next use, you will need to refer to first use instructions
Step 1 of 3


- Empty the drip tray and the capsule container every day. Remove cup support by first removing the capsule bucket, then unlocking the cup support, pulling the cup support forward & lifting it upwards to disengage from the machine. Clean cup support and wipe inside machine, reassemble with a clean damp cloth. Remove the water tank and lid and clean them both with odorless detergent and rinse with warm water. Refill the water tank with fresh potable water.
- Rinse the milk jug & dry after each use. If required, wash the jug with mild detergent.
- Fill the milk jug with potable water between the min & max marks. Select the MILK function & press START. When complete discard the hot water, then wipe the steam wand with a clean damp cloth.
- Do not use any strong or abrasive solvent, sponge or cream cleaner. Do not put in the dishwasher.
- Dry all the parts with a soft clean cloth and reassemble all parts. Clean the coffee outlet and inside the machine regularly with a clean damp cloth.
- Never immerse the appliance or part of it in water or any other liquid.
Step 1 of 6
No light on the controls.
The machine has turned to Off mode automatically; touch one of the controls or push the slider.
Check the mains: plug, voltage, fuse.

No coffee, no water.
Check the water tank, if empty, fill with potable water. Descale it if necessary.
Lift the lever. Press one coffee button and wait until water comes out.

Coffee is not hot enough.
Preheat cup.
Descale if necessary.
Leakage or unusual coffee flow.
Check that the water tank is correctly positioned.

Lights flash irregularly.
Call the Nespresso Club.
Exit descaling procedure (see paragraph on descaling).
Front light is red.
Water tank is empty or needs to be cleaned.
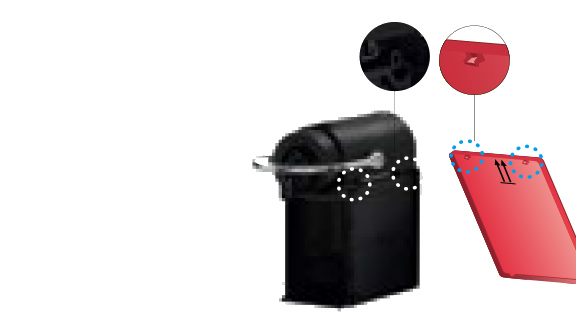
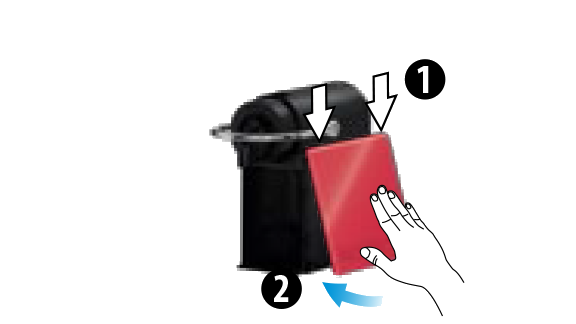
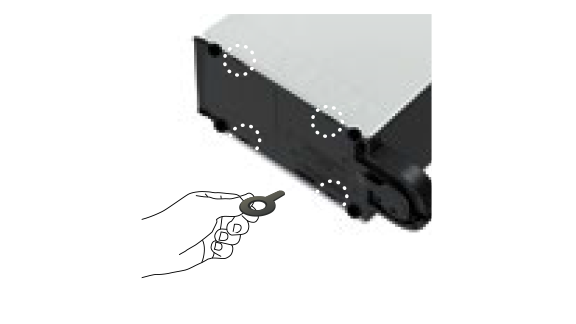
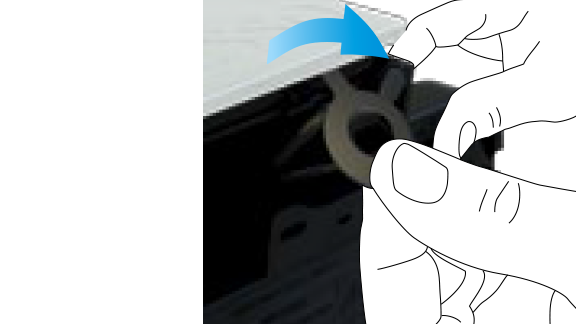
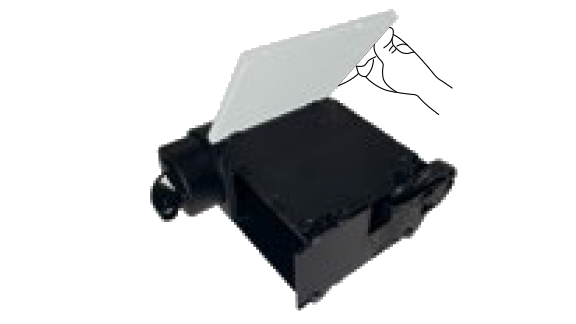
Pannel cannot be clipped.
Ensure orientation as indicated per the arrows inside the panel. Start to clip from the top.
In case the panel still does not clip, call the Nespresso Club.
No coffee, water just comes out (despite inserted capsule).
In case of difficulties, call the Nespresso Club.

Machine switches itself off.
To save energy the machine will turn itself off after 9 minutes of non use. See paragraph on «Energy saving concept».