Cookie Cup Recipe
30 min
Difficult
Here is what you need
Ingredients
{{ persons }}
- 90g butter (soft)
- 77 g sugar
- 77 g raw cane sugar
- 1 pinch of salt
- ¼ teaspoon vanilla extract
- 1 egg yolk
- 220 g flour
- 100 g dark chocolate
- 6 espressos (e.g. Nespresso Dharkan)
- Eatable gold dust, chopped almonds or chocolate sprinkles for decoration
- Milk
- Baking tray
- Baking paper
- Oven
- Metal ring
- Bowl
Materials
- Baking tray
- Baking paper
- Oven
- Metal ring
- Bowl
Let's make it!
- Put the butter, sugar, raw cane sugar, salt, vanilla extract and egg yolk in a bowl and mix the ingredients with a rubber scoop. Add flour and knead it to a firm dough. Wrap the dough in plastic wrap and let it sit in the fridge for about one hour.
- Dust your workspace with flour and roll the dough to approx. 3-4 mm. Cut out strips of dough that are 6cm wide and 19 cm wide. Put the rest of the dough aside.
- Outlay the metal rings with the dough strips. Press hard on the overlapping dough layers to connect them. Cut the bottom of the cups out of the leftover dough with the metal rings. Press the resulting circles into the metal rings and connect the dough firmly with your fingers.
- Put the cookie cups on a baking tray that is covered with baking paper and put it in the fridge for about 30 minutes. Preheat the oven to 180°C in the meantime. Bake the cups for 10 minutes, then turn them upside-down and bake them for another 5-7 minutes. Let the cups cool down for about 10 minutes and detach them carefully out of the metal rings.
- Fill a small pot with water and boil it for a water bath. Put a heat-resistant bowl on to the pot and put half of the chocolate into the pot to melt it. As soon as the chocolate reaches 50°C, take it off of the stove and stir in the remaining chocolate.
- As soon as the chocolate is cooled down to 32°C, glaze the inside of the cookie cups twice. Dip the edge of the cups and decorate them as you wish with chocolate sprinkles or chopped almonds. As soon as the chocolate is hardened the edge can also be decorated with eatable gold dust. Let the cups cool for about 20 minutes in your fridge.
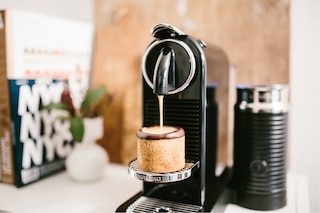
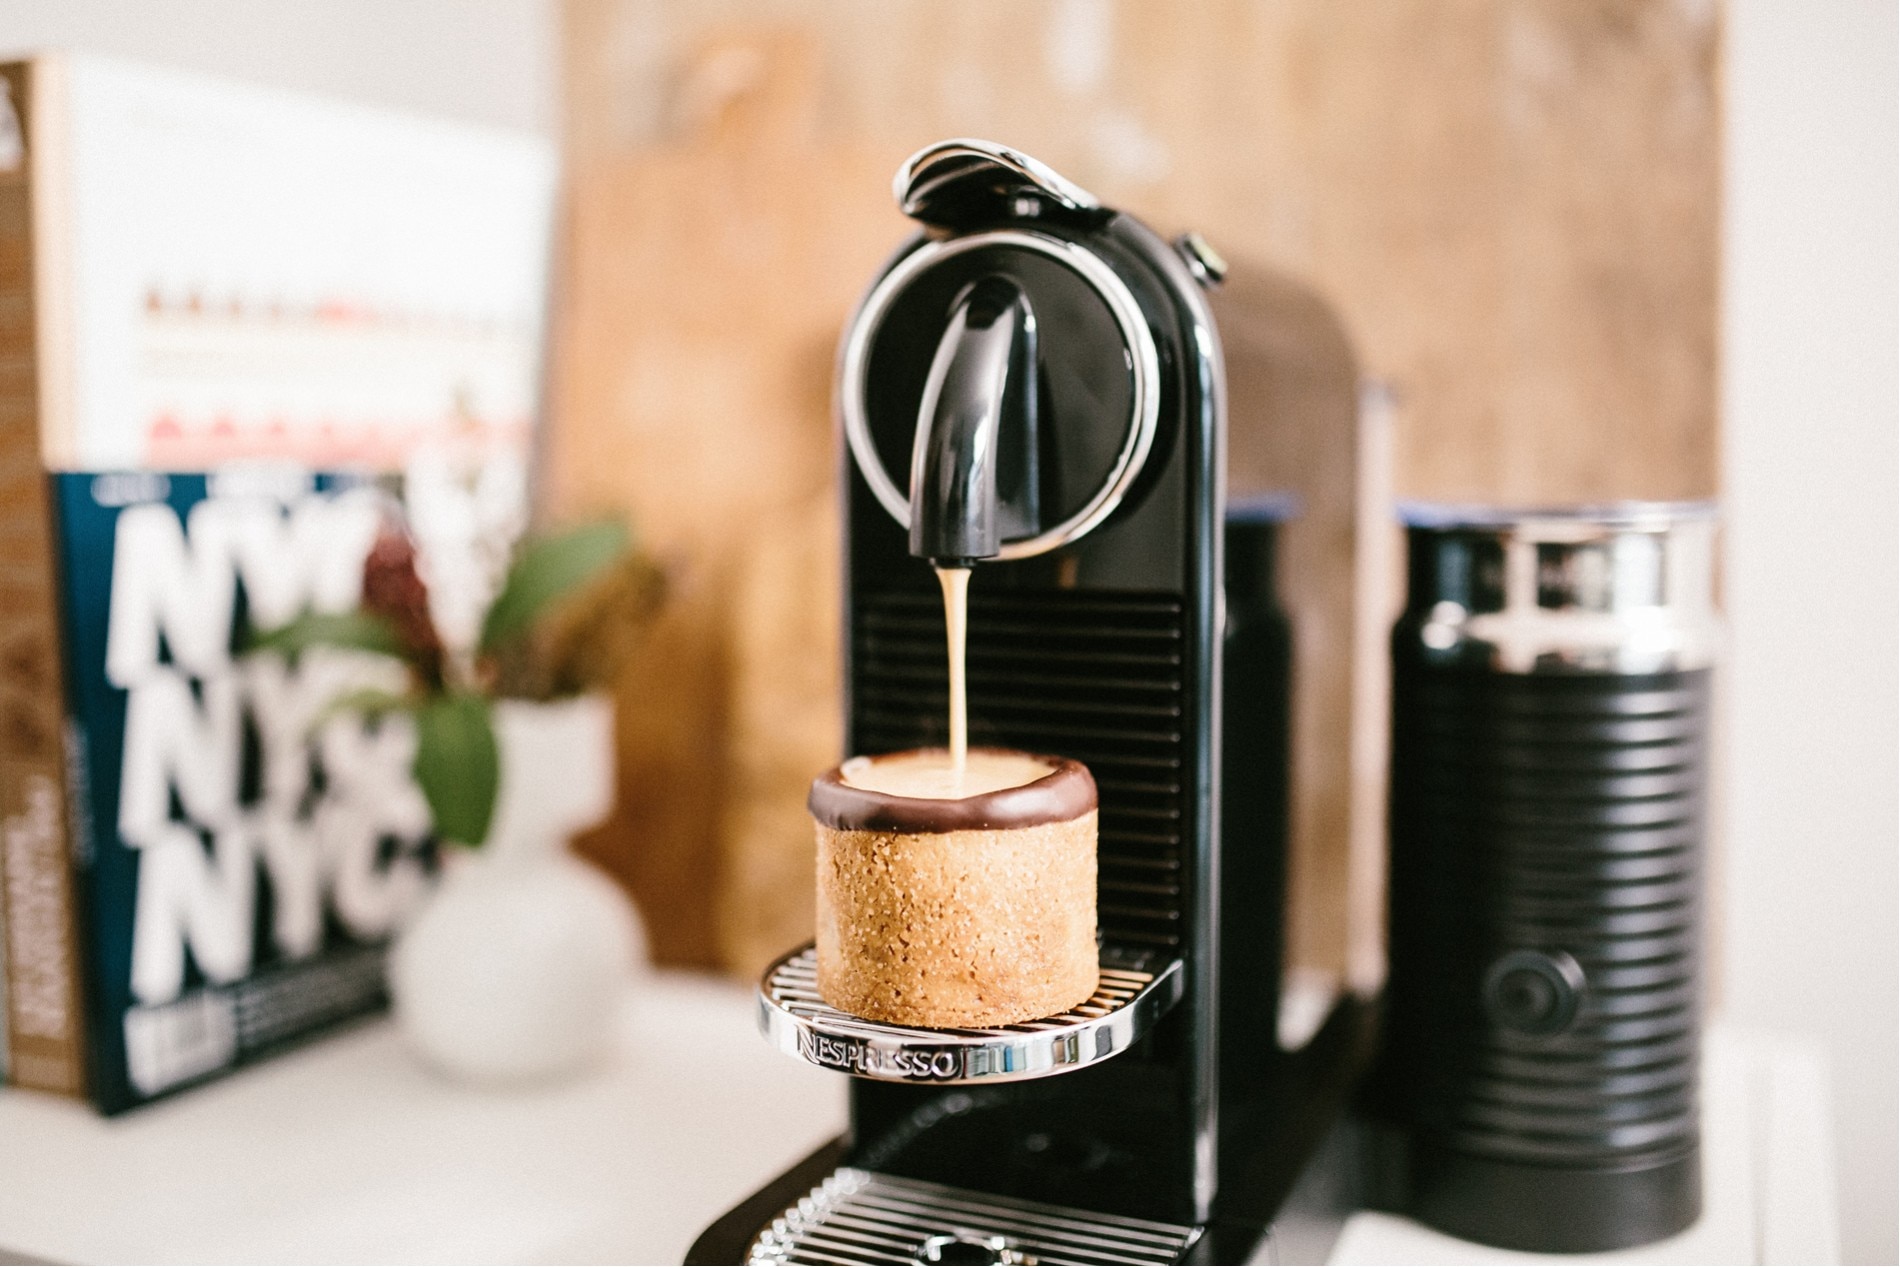
- The cups can be filled with espresso once they are completely cooled down and hardened.
- Put some milk froth on top if you like and enjoy your cookie cups.
You may also like these recipes
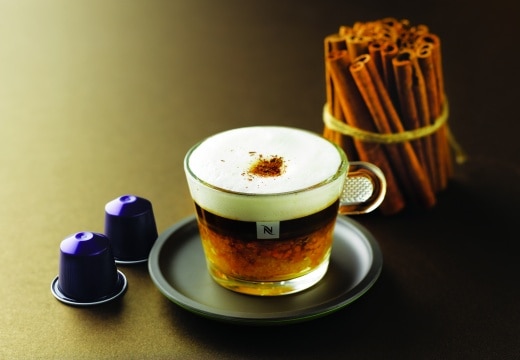
Cappuccino
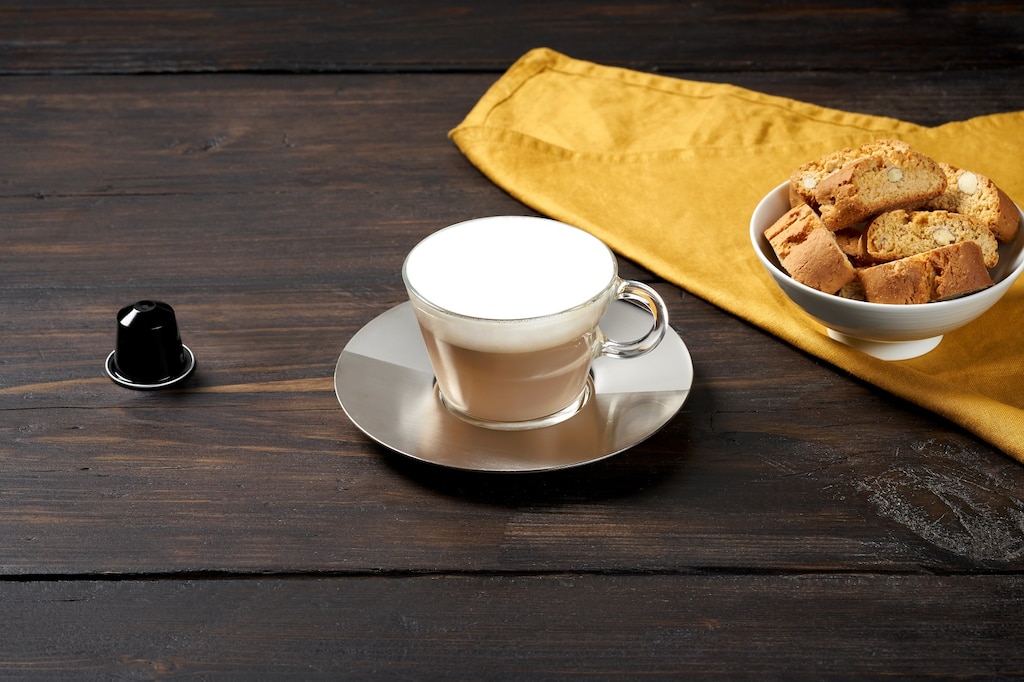
Ah! The famous Cappuccino. Born after the Italian Capuchin monks' hoods' color, and then from Rome to New York, its preparations have varied as much as its pronunciations. But the color of the foam has always stayed the same. Simply put, a classic. *Barista device may not be available in your country.
Let's make it!
- Put the butter, sugar, raw cane sugar, salt, vanilla extract and egg yolk in a bowl and mix the ingredients with a rubber scoop. Add flour and knead it to a firm dough. Wrap the dough in plastic wrap and let it sit in the fridge for about one hour.
- Dust your workspace with flour and roll the dough to approx. 3-4 mm. Cut out strips of dough that are 6cm wide and 19 cm wide. Put the rest of the dough aside.
- Outlay the metal rings with the dough strips. Press hard on the overlapping dough layers to connect them. Cut the bottom of the cups out of the leftover dough with the metal rings. Press the resulting circles into the metal rings and connect the dough firmly with your fingers.
- Put the cookie cups on a baking tray that is covered with baking paper and put it in the fridge for about 30 minutes. Preheat the oven to 180°C in the meantime. Bake the cups for 10 minutes, then turn them upside-down and bake them for another 5-7 minutes. Let the cups cool down for about 10 minutes and detach them carefully out of the metal rings.
- Fill a small pot with water and boil it for a water bath. Put a heat-resistant bowl on to the pot and put half of the chocolate into the pot to melt it. As soon as the chocolate reaches 50°C, take it off of the stove and stir in the remaining chocolate.
- As soon as the chocolate is cooled down to 32°C, glaze the inside of the cookie cups twice. Dip the edge of the cups and decorate them as you wish with chocolate sprinkles or chopped almonds. As soon as the chocolate is hardened the edge can also be decorated with eatable gold dust. Let the cups cool for about 20 minutes in your fridge.
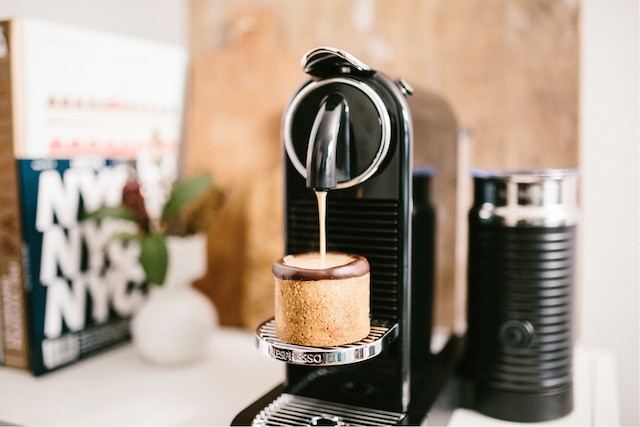
- The cups can be filled with espresso once they are completely cooled down and hardened.
- Put some milk froth on top if you like and enjoy your cookie cups.


