
COFFEE
LATTE ART - THE ART OF CREATING SHAPES FROM MILK FROTH
Every good barista knows how to turn latte macchiato or cappuccino into little works of art. By using Latte Art, imagination and skill, wonderful creations can be formed from milk froth, which makes the experience of drinking coffee even better. The term Latte Art freely translates as milk art, which actually describes the possibilities of artistically designing milk froth. How Latte Art is created and how you can create patterns from coffee and milk froth yourself, we will show you in a small Latte Art Tutorial. The basic requirements for Latte Art are of course the coffee itself and a good, creamy milk froth, which must not be too foamy but also not too firm. The more perfect the consistency of the milk froth, the more extensive the possibilities and therefore more fascinating and lasting results.
The Basic Techniques of Latte Art
Professional baristas have Latte Art practically in their blood and yet they use basic techniques ranging from free pouring to etching. They also use different tools. However, even the untrained non-professional can, with a little perseverance and skill, approach the small works of art on the coffee and with some practice will soon be able to show appealing results. Here we will show you the basic techniques that can be used for Latte Art.
A basic technique for Latte Art is Pairing. This term means the joining of two components. In Latte Art, this is about connecting coffee and milk froth by pouring them together. The preferred method is to use a milk froth jug with a pointed spout. Special stencils can perfect the results and make them repeatable as desired. But what is needed above all for the pouring technique is a perfect milk froth and lots of practice.
Nespresso Latte Art - the art of creating shapes from milk froth
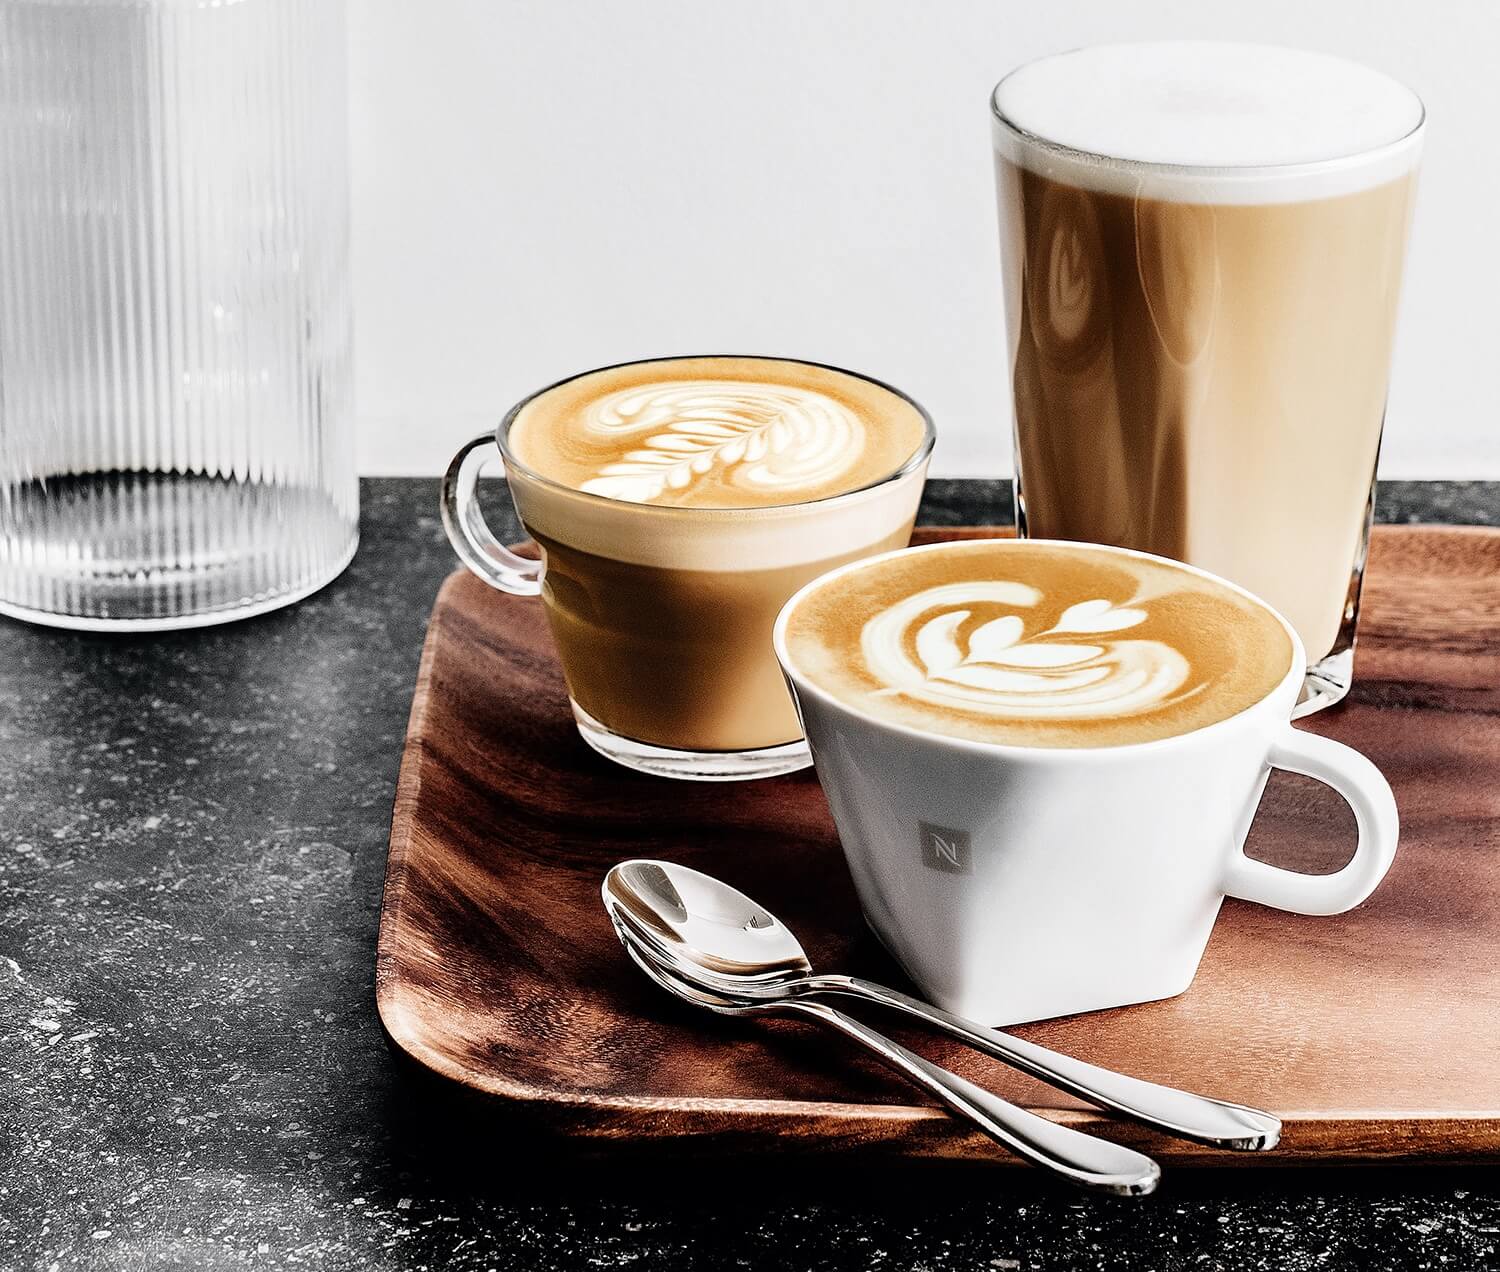
Nespresso Latte Art - the art of creating shapes from milk froth
Etching is the second basic technique for Latte Art. Here, both templates and special pens are used, with which individual or standardised patterns can be created in the milk froth. So in a way, etching is the drawing of pictures with coffee and milk froth. Chocolate sauce can also be used for this, which ensures high-contrast results. But here, too, the perfect technique in etching requires continuous practical practice.
The third basic technique for the great art on espresso is the modelling of 3D shapes. This is certainly the most complex form of Latte Art, requires correspondingly lots of practice and creates the most wonderful works of art from fine-pored milk froth. The three-dimensional works of art are a further development of classic Latte Art and were first developed in Japan. With good ideas, firm milk froth, spoons and patience, small figures made of milk froth are created on the espresso, which are understood as the completion of Latte Art.
Nespresso Creatista coffee machine with a milk can
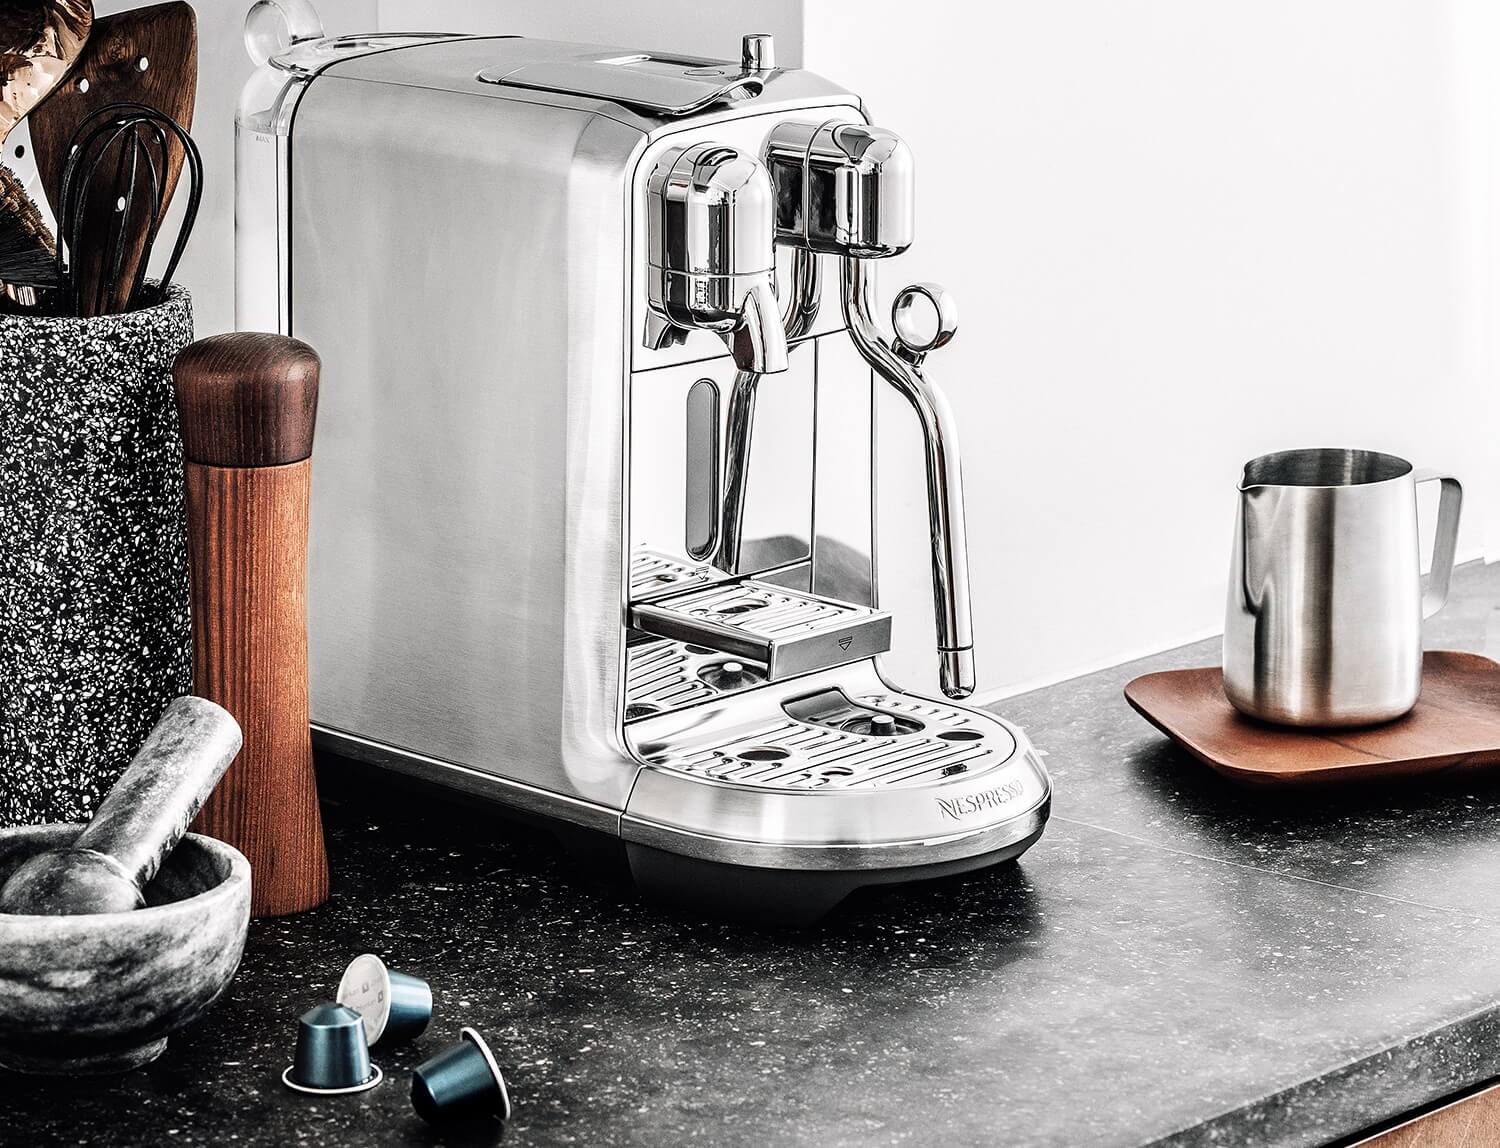
Nespresso Creatista coffee machine with a milk can
What is needed for Latte Art
Even if the different types of Latte Art seem to be very different, the essential requirements are the same. The first thing you always need is a consistently good milk froth, which you can best produce with the Nespresso frother. The Aeroccino 4 makes a great milk froth that you can put on the perfect espresso.
Depending on your preferred technique, you will need a number of accessories for Latte Art, such as a milk frother with a pointed spout, small coffee spoons, etching pens or stencils, which can be helpful for easier work. The Nespresso Creatista machine comes with some of these accessories, such as the milk frother. You can also use cinnamon, chocolate sauce or very fine chocolate shavings to decorate the milk froth.
Depending on your preferred technique, you will need a number of accessories for Latte Art, such as a milk frother with a pointed spout, small coffee spoons, etching pens or stencils, which can be helpful for easier work. The Nespresso Creatista machine comes with some of these accessories, such as the milk frother. You can also use cinnamon, chocolate sauce or very fine chocolate shavings to decorate the milk froth.
For your First Attempts - the Latte Art Tutorial
You can try your luck with your first milk froth sample by following our instructions for frothed heart or leaf. The Coffee Tulip requires a little more practice, but with our Latte Art Tutorial for the figure you will find all the important steps. Once you've mastered these three figures, you're ready to tackle more challenging Latte Art. Here are our tutorials:
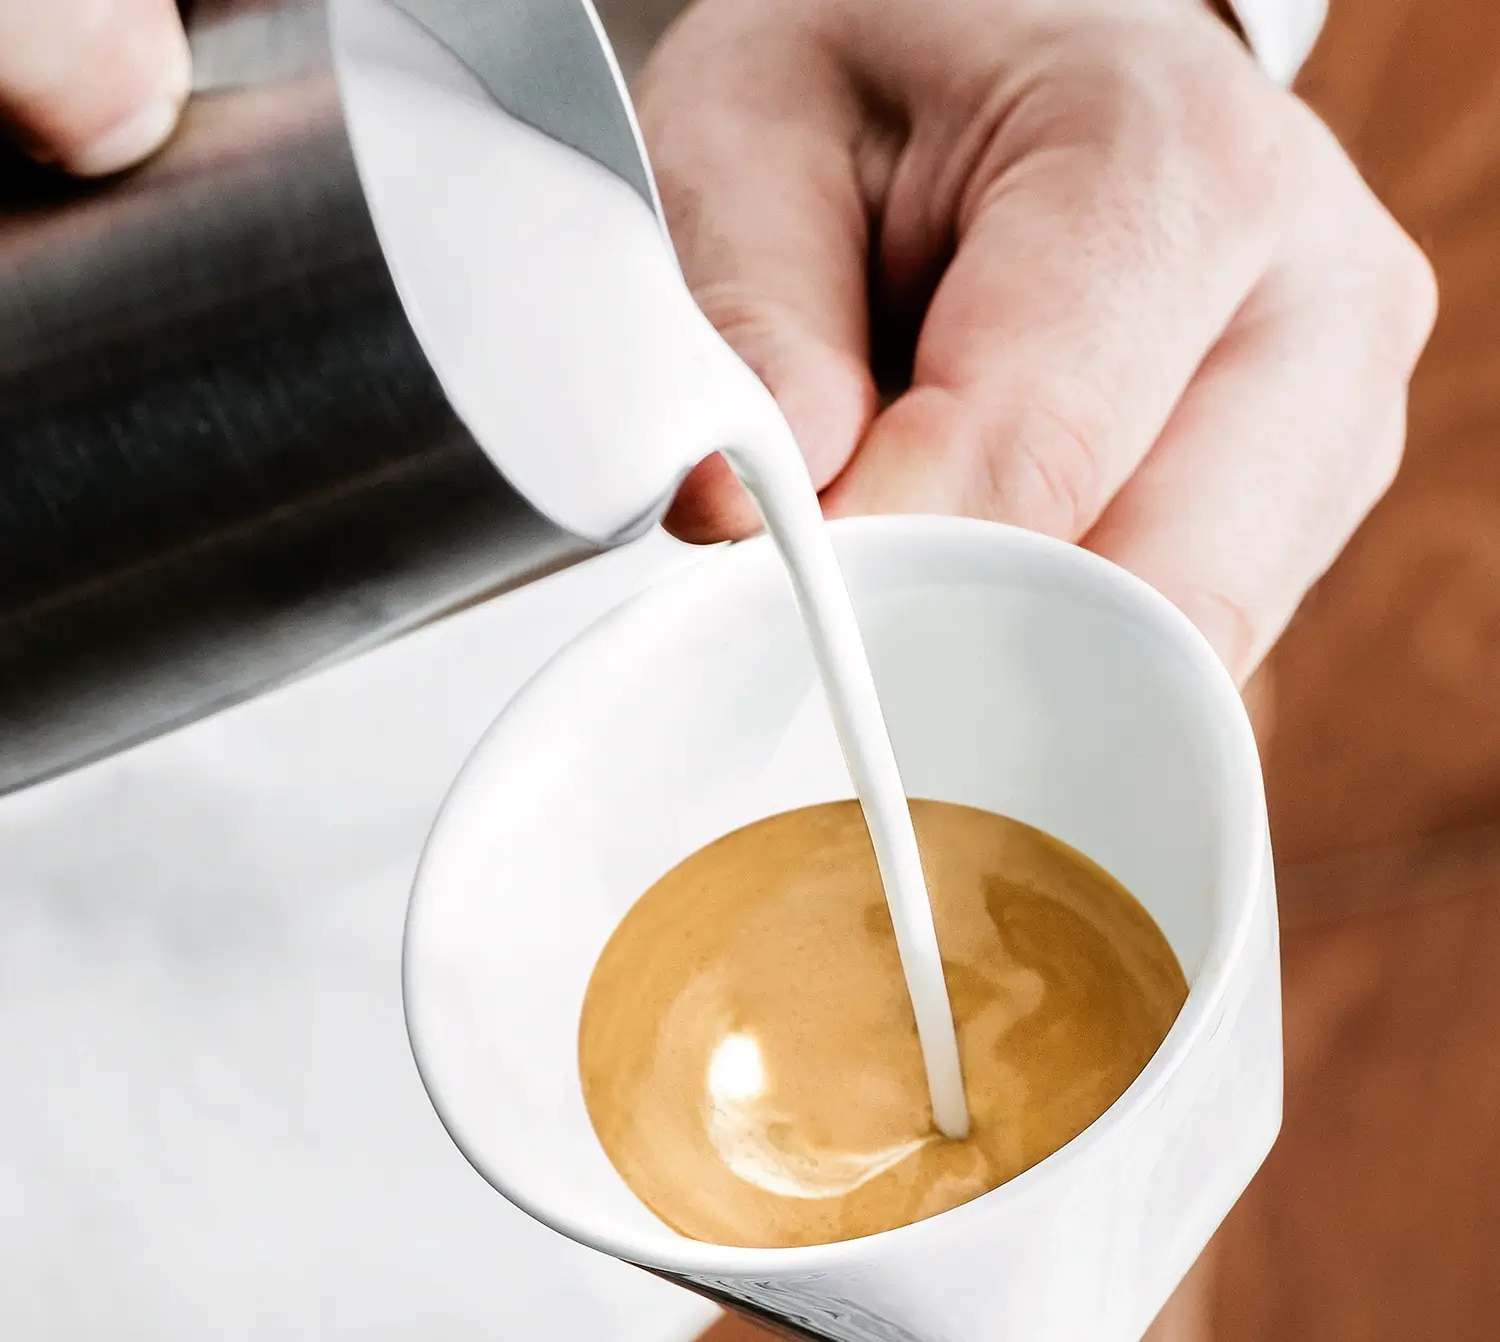
Nespresso Latte Art Tutorial
Nespresso Latte Art Tutorial
Coffee Heart - not only for Romantic Couples
For the coffee heart you need a round cup as wide as possible, a good milk jug with a narrow spout and cold milk with a high fat content. And of course, the espresso and a soft milk froth.
A little tip: before pouring the milk froth, tap the milk jug a few times against the kitchen counter. This helps to release air bubbles from the foam. Once the milk froth from the fatty milk is ready and portioned in the milk jug, pour the foam into the espresso from above so that the foam and coffee mix easily. Then pour from further down so that the milk froth settles on top. To achieve a heart shape, first pour a circle. Then, pull the spout of the milk jug through this circle from top to bottom. and you heart of froth is finished. You may have to practice this several times until the result appears perfect.
A little tip: before pouring the milk froth, tap the milk jug a few times against the kitchen counter. This helps to release air bubbles from the foam. Once the milk froth from the fatty milk is ready and portioned in the milk jug, pour the foam into the espresso from above so that the foam and coffee mix easily. Then pour from further down so that the milk froth settles on top. To achieve a heart shape, first pour a circle. Then, pull the spout of the milk jug through this circle from top to bottom. and you heart of froth is finished. You may have to practice this several times until the result appears perfect.
Coffee Leaf - Milk Froth Nature
If you can already form a coffee heart, it is not hard to get to the coffee leaf. You will need a little more practice to do this, so do not despair if the first attempts are not yet perfect. For the coffee leaf you also need a wide, round cup and of course a fresh, fine-pored milk froth. First of all, start with the coffee heart and pour a little milk froth from further up into the espresso. This creates the brownish coffee foam as the basis. Then you go to one side of the cup and pour a circle about half the size of the cup. Pour the leaves back and forth in decreasing swivelling movements close to the crema. When you have reached the other side of the cup, pull the tip of the spout of the milk jug back into the initial circle, forming the middle axis of the leaves. That's it!
Nespresso Latte Art instruction
Nespresso Latte Art instruction
The Coffee Tulip - Beautiful Flowers for Experienced Latte Artists
The coffee tulip made of milk froth is a little more demanding - for this you will need some practice. A coffee tulip consists of at least two hearts of different sizes. So first pour the first, larger heart at the bottom of the cup. Proceed as described in the instructions for coffee hearts. Then put the milk pot down and form a small heart above the larger heart. With the final movement of the spout you connect the two moulds together to form a tulip. Once you have practised this procedure, you can even create multiple tulips. But don't be discouraged if you don't succeed right away.
Nespresso Cappuccino with Barista Creations Scuro

Nespresso Cappuccino with Barista Creations Scuro
What Equipment you need
Latte Art is always as good as the material used and the coffee artist himself. Of course, you need a good espresso, preferably with a portion of Robusta, such as our BARISTA CREATIONS Corto coffee. And even more important is the right milk froth. You can find out how to make it in our special article on milk froth. Also essential for Latte Art are the milk jugs used and the right cups. For beginners, smaller milk jugs with a small pointed spout are recommended. The cups may be a bit bulbous but should be round and relatively wide. This will give you enough scope for your first attempts at Latte Art with a milk froth pattern of your choice. Have fun and an enjoyable espresso moment!
