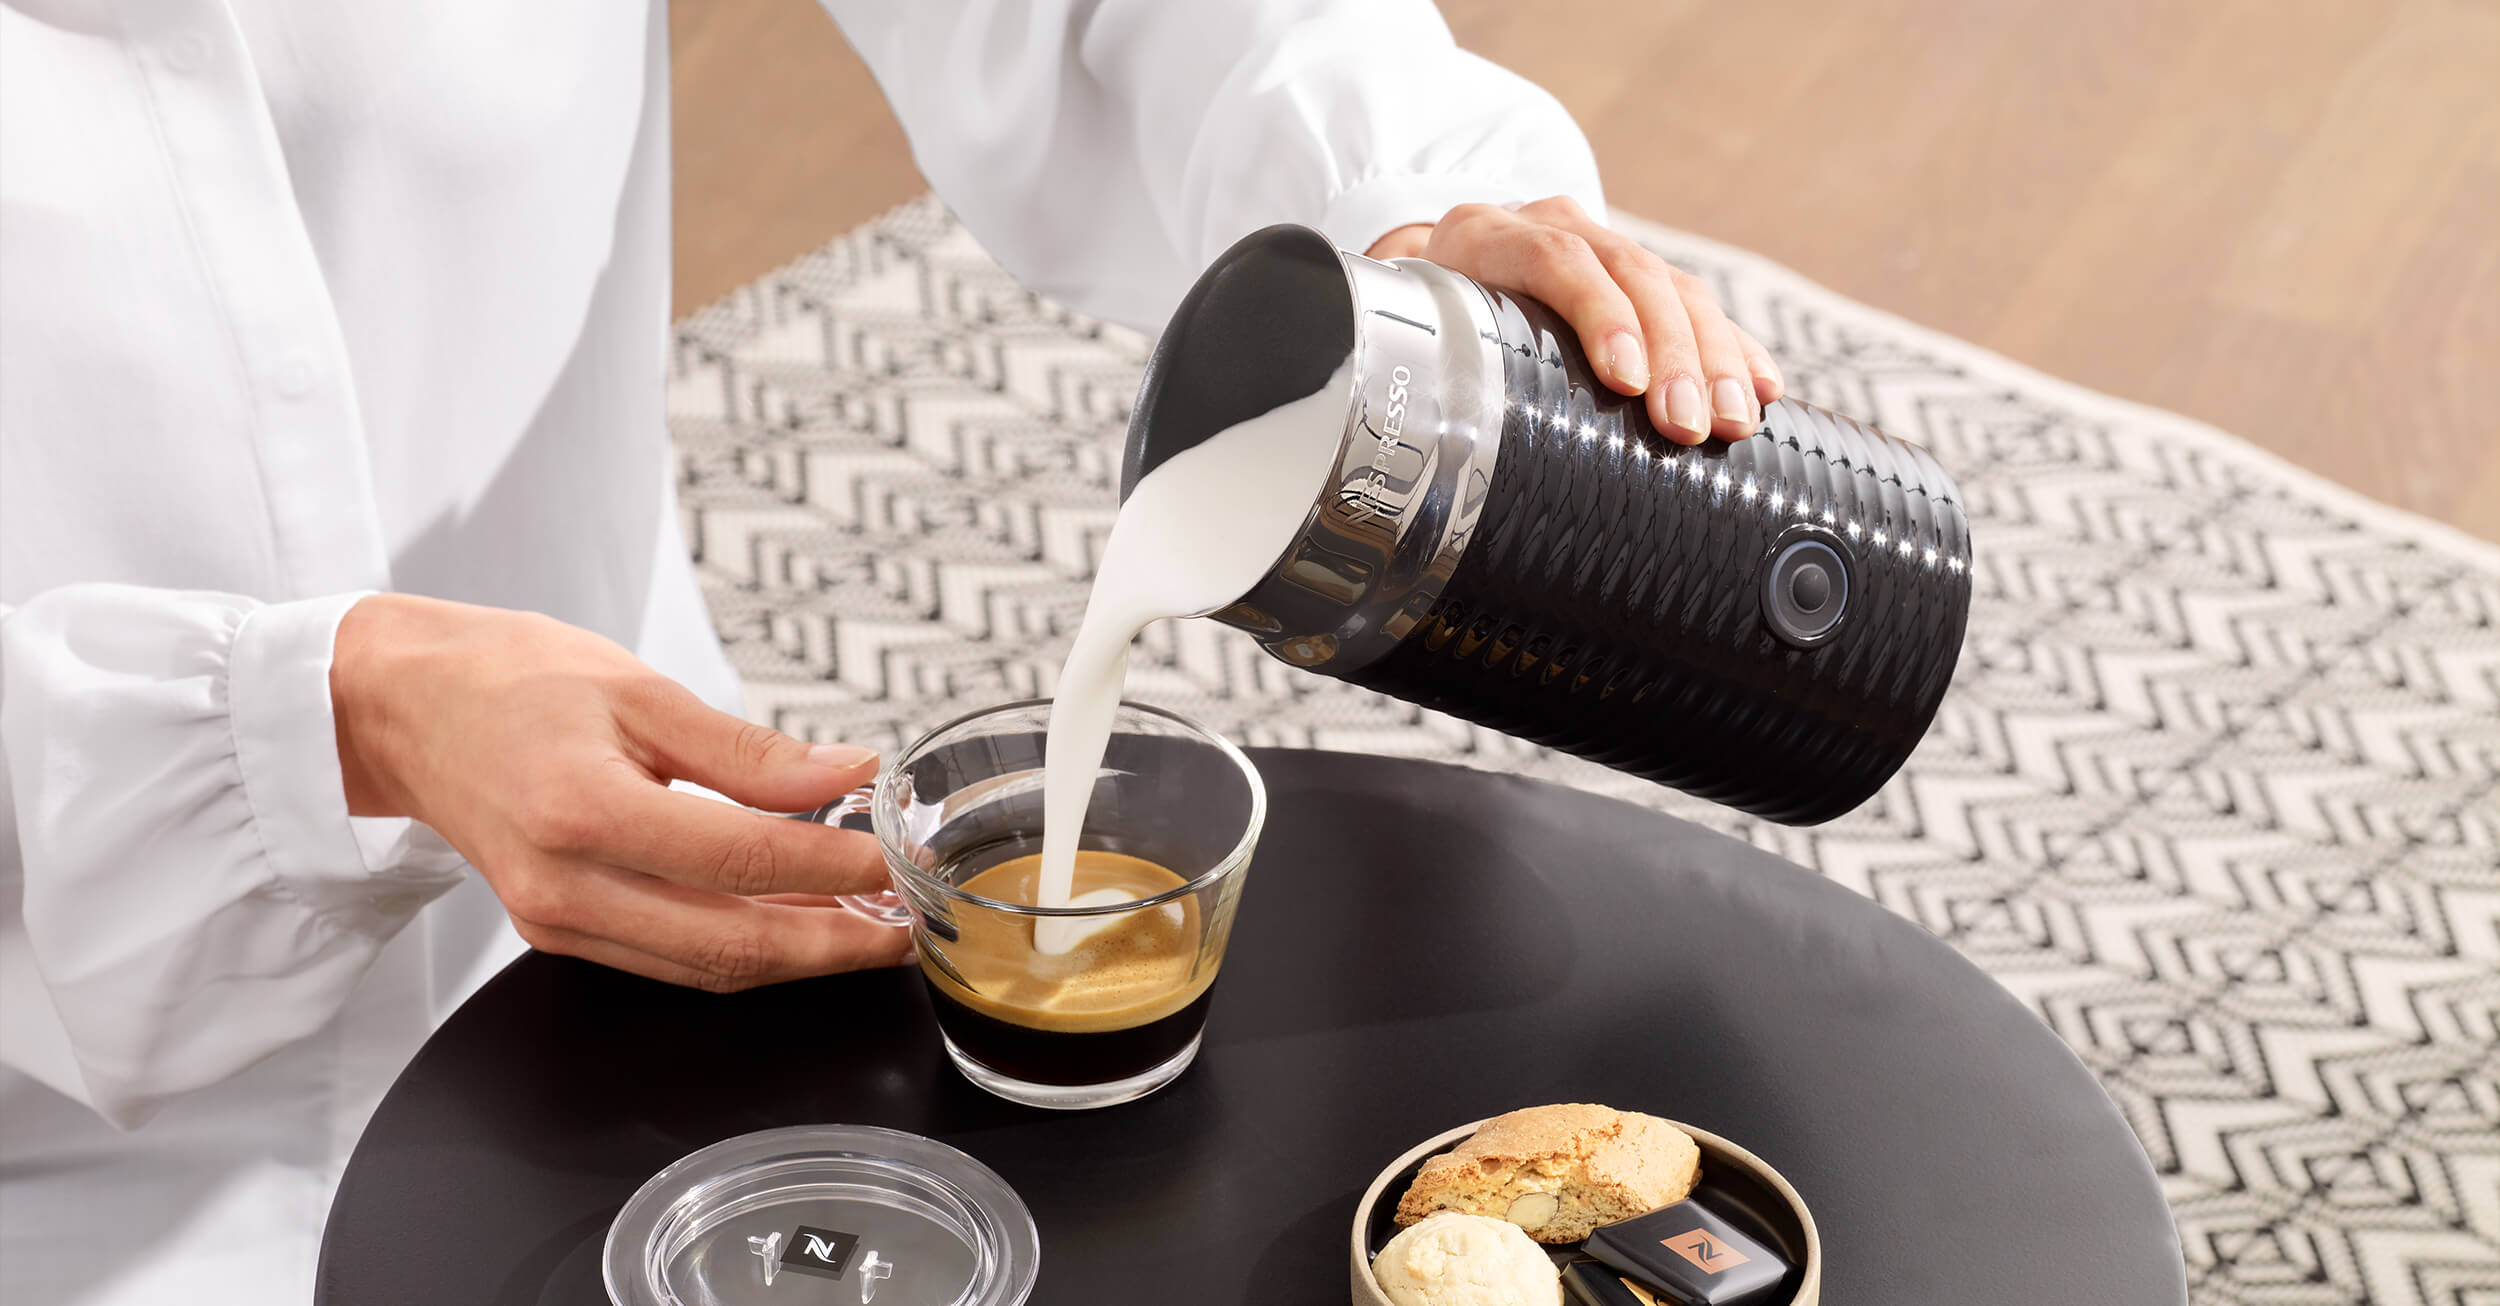
The first sip of sweet, creamy foam from the top of your morning coffee is one of life’s simplest indulgences. With a few helpful tips on how to use milk frothers, you can become your very own barista at home and create silky-smooth coffees in no time.
The art of coffee-making has come a long way, from a simple black brew to perfectly crafted latte art or creamy cappuccinos served in beautiful ceramic coffee ware. The coolest bit? Thanks to high-performing standalone milk frothers – like our Aeroccino3, Aeroccino4 and Barista Milk Frother – coffee lovers can now create their favourite milky coffees at home.
What is a milk frother?
A milk frother is a device that is used to aerate milk, creating a thicker, creamier texture called foam that is generally added to coffees such as cappuccinos and lattes.
There are various types of countertop milk devices to assist you in creating the perfect coffee at home; including a traditional steam wand, an electronic whisk or a standalone Aeroccino3, Aeroccino4 or Barista Milk Frother.
Do I need a milk frother?
If you drink your coffee with milk, then yes! A standalone milk frother allows you to create creamy hot or cold milk froth in a little over a minute. The biggest appeal of standalone milk frothers is that they will froth all kinds of milk, are easy to clean and produce a consistently high-quality foam.
Elevate your milk-frother experience: From refreshing iced coffees to hot chocolate and mocha recipes, Nespresso’s Barista Milk Frother features a touch screen and connected app, making delicious foamy coffees a breeze to make.
Types of Nespresso milk frothers
For the ultimate at-home coffee experience, use any one of our three milk frothers for easy, creamy foam and luxurious coffees. Choose between the Aeroccino3, Aeroccino4 or Nespresso Barista milk frothers depending on your unique coffee preferences.
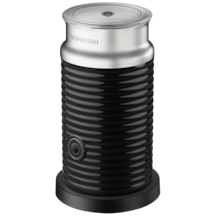
Aeroccino3 Milk Frother
The Aeroccino3 Milk Frother perfectly heats and froths your favourite milk to perfection time and time again to help create beautiful cappuccinos, lattes and flat whites. It can also froth cold milk for iced coffees. The perfect companion to any coffee at a touch of a button, just add milk.
- Prepares hot and cold milk foam and hot milk
- Press button once for hot and hold down for cold preparation
- Holds 120ml hot / cold milk foam or 240ml of hot milk
- 90mm deep x 186mm high
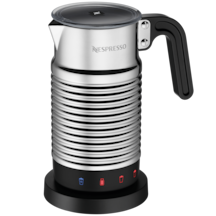
Aeroccino4 Milk Frother
The Aeroccino4 Milk Frother is all about versatility and convenience, allowing you to create creamy coffees with either two types of hot milk froth, cold foam or hot milk. The best part? You only need to use one whisk for all preparations: simply pour in the milk, press the desired button and enjoy divine froth on your cappuccinos and lattes.
- Prepares two types of hot milk foam, hot milk and cold milk foam via four quick one-touch buttons
- Uses one whisk for all your milk preparation
- Holds 120ml hot / cold milk foam or 240ml of hot milk
- 100mm x 170mm high
- Easy to use with an ergonomic handle
- Jug is dishwasher safe
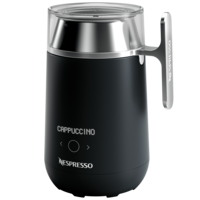
Barista Milk Frother
The Barista Milk Frother expands your café menu at home beyond cappuccino, latte and flat white with simple recipes for an affogato, iced frappe, mocha & latte macciato to name a few. Navigate through these recipes with ease via the integrated touch screen and connected app.
- Prepares 20+ recipes via touch screen, setup via Nespresso app
- Can add milk, ice cubes, chocolate squares, sugar into the jug
- Holds 150ml hot / cold milk foam or 250ml of hot milk
- 150mm deep x 215mm high
- Jug is dishwasher safe

Aeroccino XL Milk Frother
With the Nespresso Aeroccino XL a little more frothed milk goes a long way. Whether for a large, creamy macchiato or for three indulgent cappuccinos, this milk frother does it all for you in a single preparation. From hot foam, cold foam, or generous measures of warm milk, all the coffee recipes you can imagine are simply a touch away.
- Prepares hot and cold milk foam and hot milk
- Press button once for hot and hold down for cold preparation
- Holds 400ml hot milk, hot & cold milk froth 225 ml
- 118mm x 204mm height
- Jug is dishwasher safe
- Higher jug capacity for large recipes
What is the best type of milk for frothing?
Whole dairy milk (full-cream milk) creates a thicker, creamier foam when frothed, giving more body to your coffee drink. Low-fat milk and skim milk are much lighter and create larger quantities of foam with larger air bubbles, suitable for a more delicate latte or cappuccino.
As for non-dairy alternatives, soy, almond and oat milks can also be used in a frother. For the best milk froth, use refrigerated milk. Results will always vary, so the best tip is to explore different milk brands with your at-home milk frother device.
Warm milk vs cold milk
For some coffee drinkers, their preference is a perfectly chilled iced coffee; others love a hot, foamy latte. Decide if you want to froth warm or cold milk upfront.
For the Aeroccino3 Milk Frother
If you’re preparing cold milk, perfect for an iced-latte recipe, use the Aeroccino3 Milk Frother, pressing and holding the button for two seconds until it lights up blue. Your cold frothed milk will be ready in about 60 seconds. To make hot milk, press the button once, the light will turn red and the milk will be ready in 70-80 seconds.
For the Aeroccino4 Milk Frother and Barista Milk Frother
Aeroccino4 has a cold-milk button setting while the Barista Milk Frother offers a wide range of recipe possibilities, including refreshing iced coffee.
How to use hot milk with an Aeroccino3 Milk Frother
Make milky drinks a part of your daily repertoire by following these easy steps.
Step 1: Choose what type of milky coffee to make
First, decide if you will make a flat white, latte, cappuccino, macchiato, hot chocolate, iced coffee or something else. Each type of coffee will require a different amount of milk.
Step 2: Decide whether to use the coil frothing spring
Inside the Aeroccino3 Milk Frother, there is a whisk that magnetically attaches to the bottom of the milk frother jug. This whisk features a removable coiled whisk.
- For flat whites: Remove the coiled whisk, place the black whisk at the bottom of the jug and fill the jug with milk to the highest level. You can keep the coiled whisk safe by attaching it to the inside of the lid.
- For lattes or cappuccinos: Keep the coiled whisk attached to the black whisk and place inside the jug, then fill with milk to the minimum milk level.
Step 3: Pour the milk
Once frothed, pour the milk immediately into your vessel of choice. The frothy milk is lighter while the liquid milk is heavier. The longer that you leave the milk jug to stand, the more opportunity you leave for gravity to do its job and encourage the flat milk to separate from the frothy milk. Pouring immediately will encourage the hot milk sitting at the bottom of the jug and frothy milk at the top to pour out simultaneously and leave you with the most creamy beverage.
How to use hot milk with an Aeroccino4 Milk Frother
Enjoy a quality coffee experience with these no-fuss steps.
Step 1: Choose what type of milky coffee to make
First, decide what type of drink you will make – a flat white, latte, cappuccino, macchiato, hot chocolate or iced coffee. You will need a different amount of milk depending on the drink you are making.
Step 2: Pour the milk to the preferred level
Start by placing the whisk element in the correct position, then fill the jug with milk up to either one of the two max level indicators shown on the inside of the jug: the lowest level indicator is for maximum milk froth preparations, while the highest level indicator is for the maximum milk level for preparations with no froth.
Step 3: Choose your milk froth option
Place the lid on the jug, then place the jug on the base. It’s time to choose the style of milk froth required for your coffee option – whether its hot milk for creamy hot chocolates or lattes, warm and airy milk foam for indulgent cappuccinos, warm and dense milk foam for silky smooth lattes, or cold milk foam for refreshing iced lattes or iced macchiatos.
Click the selected button and wait for it to blink (it will become steady when it’s complete) – the cold milk button will be highlighted blue, while the hot milk buttons will be red. Once frothed, pour the milk immediately into your vessel of choice.
How to use the Barista Milk Frother
Discover a wide world of coffee recipe possibilities, from iced frappes and hot chocolates to so much more, with these easy steps.
Step 1: Pair Barista Milk Frother with your device
First up, download the
Step 2: Choose your recipe on the app
Choose your recipe via the app’s great selection of recipes available to discover, or by pressing the device button to start. Via the arrows, you can manually navigate left or right to select the desired recipe. You can also select and view the recipe’s instructions via the app.
Step 3: Fill jug with milk
Fill the jug with your choice of hot or cold milk up to the required level: choose between the minimum and maximum level markings according to the recipe of choice (refer to the Nespresso app or recipe booklet).
Step 4: Add additional ingredients
You can add a range of suitable ingredients including chocolate, chocolate flakes, honey, syrup, flavoured powders, sugar, and ice cubes, to give your choice of drink that extra flair. Once ready, place the lid on the jug and press the start button on the device to start the recipe. You will know when your milk is ready when the animation on the device says so.
How to clean your Aeroccino3 Milk Frother
The Aeroccino3 Milk Frother is best cleaned after every use to avoid residue build-up. The jug coating prevents milk from sticking, which makes it quick and easy to clean.
As the jug is waterproof and not dishwasher safe, clean it by placing it under running water and use a non-abrasive cloth or scourer. Make sure the underside of the milk frother jug is completely dry before positioning it back on the base of the device.
Refer to the manufacturer manual for all cleaning instructions.
How to clean your Aeroccino4 Milk Frother
The Aeroccino4 Milk Frother should be cleaned after every use. Every part of the Aeroccino4 Milk Frother, except for the base, is dishwasher safe at a maximum of 70℃. Do not place the jug directly over the dishwasher pin to avoid damaging the inner coating.
If you’re going to handwash the milk frother, remove the jug from the base and wash the inside of the jug, seal, lid, whisk and spring with detergent, then rinse with warm or hot water. Avoid using abrasive materials that might damage the surface of the equipment and never fully immerse in water. Make sure the underside of the milk frother jug is completely dry before positioning it back on the base of the device.
Refer to the manufacturer manual for all cleaning instructions.
How to clean your Barista Milk Frother
The Barista Milk Frother is best cleaned after every use to avoid residue build-up. Every part of the Barista Milk Frother, except for the base, is dishwasher safe at a maximum of 70℃. Be sure to not place the jug directly over the dishwasher pin as this could damage the inner coating.
It’s okay to handwash the milk frother component. To do so, remove the jug from the base and wash the inside of the jug, seal, lid, whisk and spring with detergent, then rinse with warm or hot water.
Be sure to avoid using abrasive materials as these might damage the surface of the equipment and never fully immerse in water. Make sure the underside of the milk frother jug is completely dry before positioning it back on the base of the device.
Refer to the manufacturer manual for all cleaning instructions.
